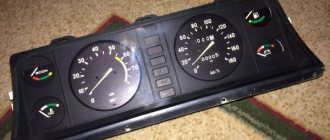
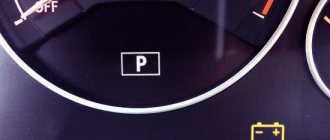
Reasons for failure of dashboard lights
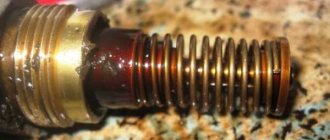
Old burnt out dashboard light bulb in socket
There may be several reasons why the instrument panel lamps are out of order:
- The incandescent lamps burned out , or in the case of LED analogues, the tracks stopped working.
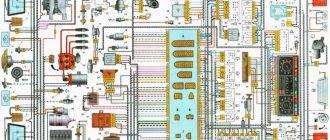
- A malfunction has occurred in the circuit (a break has occurred or the contacts have oxidized - approx.).
- The fuse box has failed.
- on the instrument panel contact board.
- There is a short circuit to ground .
In order to understand this problem more closely, it is necessary to dismantle the instrument panel.
Removing the dashboard apron
To get to the instrument panel, you need to carry out some preparatory work, which will allow you to easily access the main device:
- First, remove the negative terminal from the battery.
- Then, unscrew all the screws securing the torpedo trim on the right leg on the driver's side, and then do exactly the same procedure with the trim on the passenger side.
Dismantling should be carried out carefully so as not to break anything.
The bolts are marked with a marker.
At this point, the work on dismantling the “apron” of the instrument panel can be considered completed and you can begin working directly with the lamps.
Changing the color of the instrument panel illumination on a Subaru Legacy (using light filters)
Material from SubaruWiki
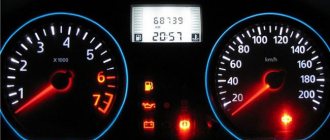
After looking at photos on the Internet, and having a little experience under my belt, I decided to slightly change the dashboard lighting. I didn’t intend to go too far into the wilds, but rather, at a minimum, change the color of the circles around the fuel gauge, speedometer, tachometer and temperature from yellow-brown to blue.
You can use LEDs, but this means that you can forget about adjusting the glow. I decided to use light filters for light bulbs.
I went to the store and bought blue filters (or as they are called in the store - caps).
Joyfully, he sat down to disassemble the panel.
First, remove the frame on the gearbox. I have an automatic transmission.
- We put the lever in position N.
- From the bottom side (L) we pry up the frame and carefully pull it up, then pull the frame towards us and (throw it somewhere on the back seat) put it aside.
- Under the frame we see 2 bolts that secure the pocket (the one between the gearbox and the ashtray. We unscrew them. We put the pocket (throw it on the back seat) to the side.
- Now we take out the ashtray, feel for the 2 bolts holding the ashtray runners (at the same time the frame of the front panel), take a short screwdriver and unscrew them. This requires skill; it’s hard the first time.
Next, we boldly pull out the panel, simultaneously disconnecting the air intake tube for the air conditioner and a couple of connectors, and a wonderful view unfolds before us
This particular view will open later, of course, when the top part of the panel is removed
